Drop us a short note with your inquiry by filling out the contact us form.
This "how-to-connect" documentation will explain the initial configuration of an example connection from Freshservice to a SharePoint Online List in Office 365. We will be synchronizing data stored in Freshservice.
This guide presupposes that you have installed the Layer2 Cloud Connector and that you are familiar with its basic functionality. The Layer2 Cloud Connector User Documentation will provide you with all necessary information.
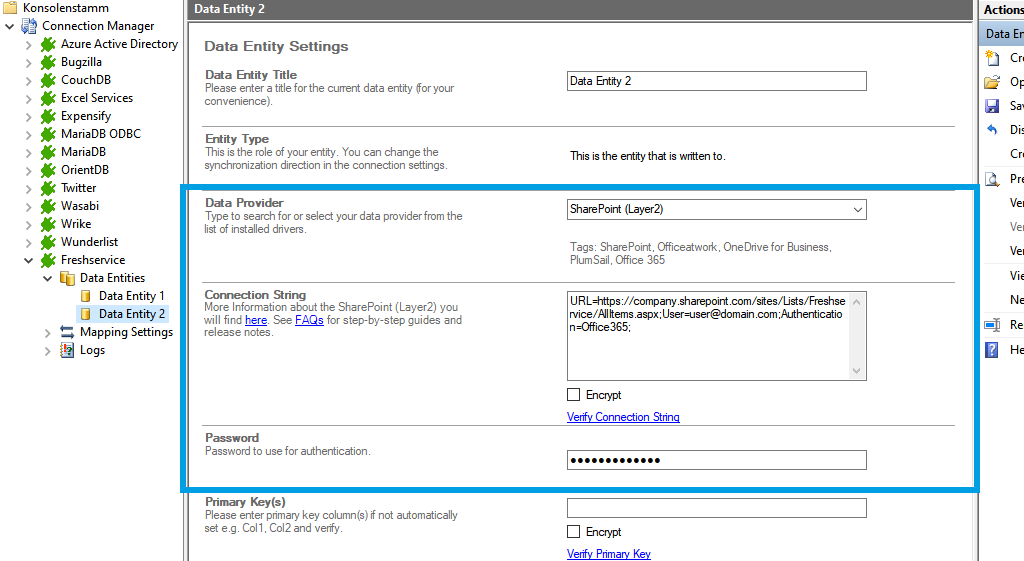
sales@layer2.pro;" this property should describe the user you wish to connect to SharePoint to.
Enter the password that belongs to the user account used in the connection string into the Password field. Save your changes by using the right-hand pane option Save Changes.
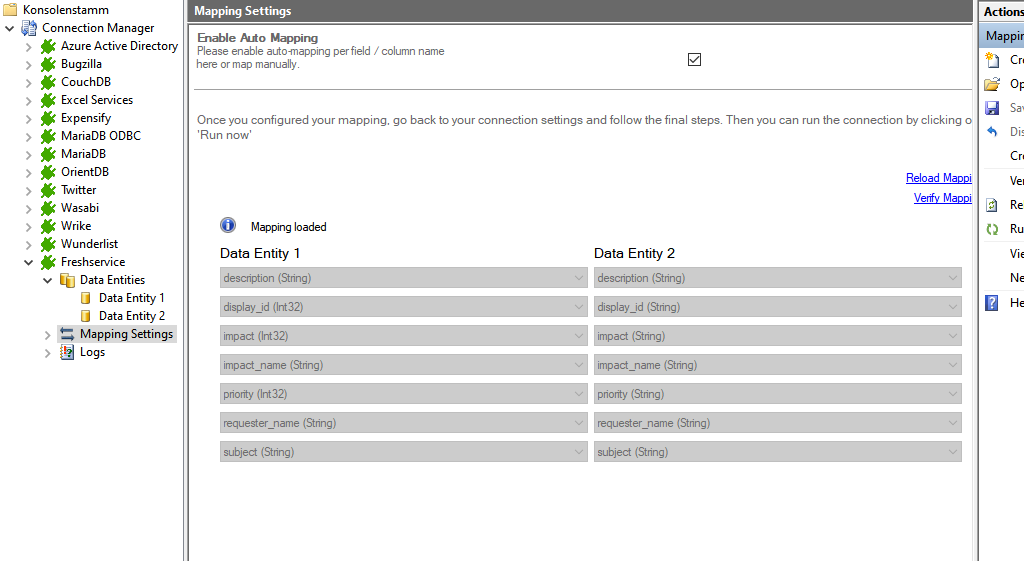
In the next step, we will configure our mapping settings. Click on the Mappings option on the left-hand pane. If your fields from SharePoint are named identical to the fields from your source system, the Enable Auto Mapping option will match those columns. Disabling this option allows you to match your columns as needed. We enabled auto-mapping in our setup. Save your changes by using the right-hand pane option Save Changes.
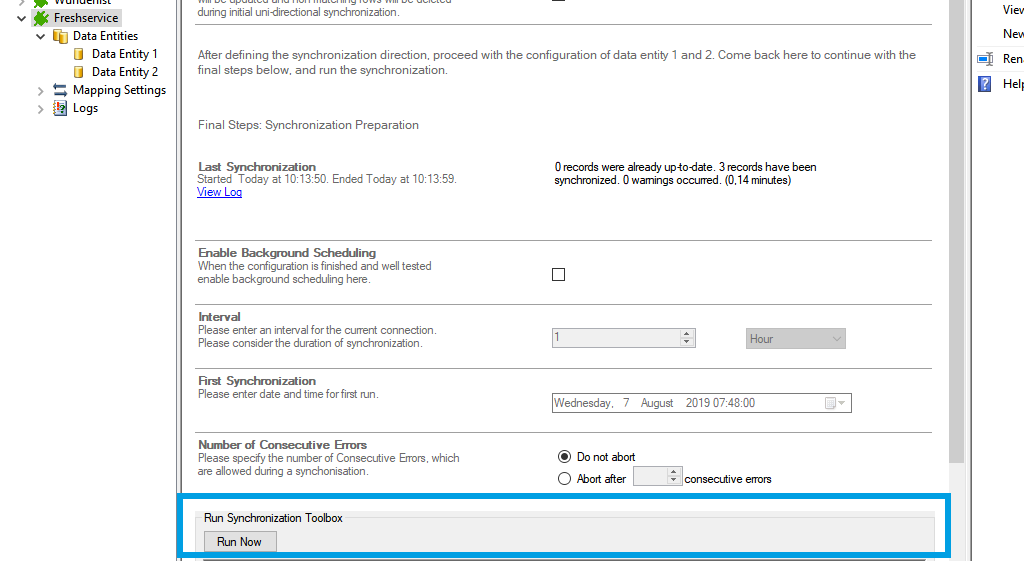
To run your connection switch back to the main connection configuration node and use the Run Now Button located on the bottom of the setup page. The Run Synchronization Toolbox will also display the synchronization process.
Below is a data preview of the information we have access in our source entity:
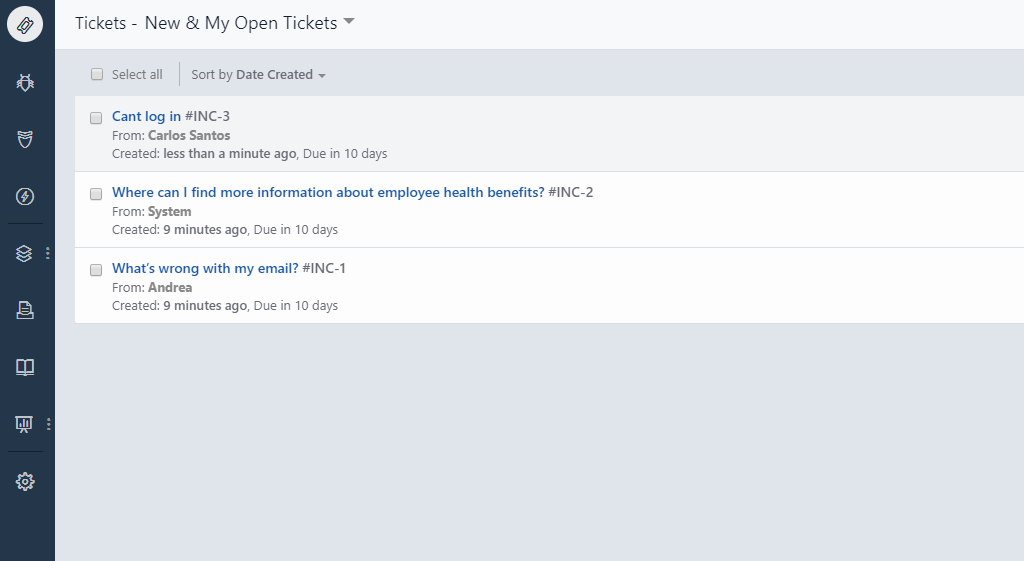
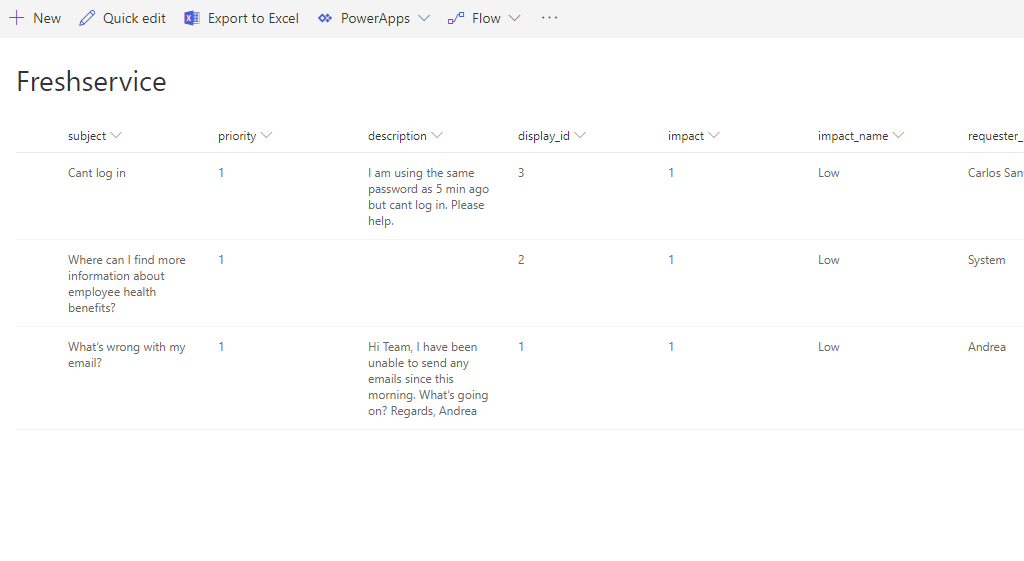
This will be the result in our SharePoint Online list after our initial successful synchronization:
As far as tested, this connection supports uni-directional only.
To see all endpoint available from the API visit this link.
If you try to make multiple operations at the same time, you can get an error that batch operations not allowed. Set the parameter Other=’BatchSize=1’ in your connection string to avoid this error.